How to Import a Sprite Sheet Into Unity for a 2D Game Jam (Step-by-Step)
A step-by-step guide to importing sprite sheets into Unity for a 2D game jam, covering slicing, animation setup, and common fixes.
If you've just downloaded or drawn a sprite sheet for your game jam project and you're staring at a single PNG wondering how it turns into an animated character, you're not alone. This is one of the most common blockers for teams in the first few hours of a jam — the art exists, but nobody's wired it up yet. Here's the full process, from raw sheet to a playable animated sprite in Unity, without wasting jam time on trial and error.
What a Sprite Sheet Actually Is
A sprite sheet is a single image file containing multiple frames of animation (or multiple related sprites) arranged in a grid. Instead of shipping 12 separate PNGs for a walk cycle, you get one image and slice it into 12 tiles. This matters for performance (fewer texture swaps) and for keeping asset packs organized — most cohesive 2D asset packs ship as sheets rather than loose files.
Before you import anything, check two things about your sheet:
- Frame size — is it a consistent grid (e.g., 32x32, 64x64) or irregular? Most jam-ready packs use consistent grids. If yours doesn't, you'll need to slice manually instead of automatically.
- Padding — some sheets add a 1-2px transparent border around each frame to prevent bleeding. If your sprites look "cut off" at the edges after slicing, this is usually why.
Step 1: Import Settings
Drag your sprite sheet PNG into your Unity project's Assets folder (usually Assets/Sprites/). Click on it in the Project window and check the Inspector:
- Texture Type: Sprite (2D and UI)
- Sprite Mode: Multiple (this is the setting people forget — by default it's "Single," which treats the whole sheet as one image)
- Pixels Per Unit: match this to your frame size or your project's grid standard (16, 32, and 64 are common; whatever you pick, use it consistently across every asset in the project)
- Filter Mode: Point (no filter) if you're going for a crisp pixel-art look; Bilinear if your art is higher-res and painterly
- Compression: None, for pixel art — compression artifacts are very visible on small sprites
Click Apply after changing these.
Step 2: Open the Sprite Editor
With the sheet still selected, click Sprite Editor in the Inspector (you may need to install the 2D Sprite package from the Package Manager first — Unity will prompt you if it's missing).
Inside the Sprite Editor:
- Click the Slice dropdown, top-left
- If your sheet is a uniform grid, choose Grid By Cell Size and enter your frame width/height in pixels
- If frames vary in size, use Grid By Cell Count and specify columns/rows, or slice manually by dragging boxes around each frame
- Click Slice, then Apply in the top-right of the editor window
Unity will now treat your one PNG as a set of individual sprites you can reference separately. You'll see this reflected in the Project window — clicking the arrow next to the sheet thumbnail expands it into all the sliced sub-sprites.
Step 3: Build the Animation
There are two common paths here depending on how much control you want.
Fast path (good for jams): Select all the sliced frames for one animation (e.g., all 6 "walk" frames) in the Project window, then drag them straight into the Scene view or Hierarchy. Unity will prompt you to save an Animation Clip and automatically generates an Animator Controller with that clip wired in. This is the fastest way to get something moving on screen — useful when you're on a tight jam clock.
Manual path (more control): Create an empty GameObject, add an Animator component, create a new Animator Controller asset, and build your states and transitions by hand in the Animation window. This is worth doing once you have more than 2-3 animation states (idle, walk, jump, attack) because it keeps transitions and blend logic organized as complexity grows.
For most jam teams, start with the fast path for your first working animation, then convert to the manual path once you need actual state logic (e.g., "if grounded and moving, play walk").
Step 4: Set the Frame Rate
By default, Unity spreads your sliced frames evenly across 1 second regardless of how many frames you have, which often looks too slow or too fast. Open the Animation window (Window > Animation > Animation), select your clip, and adjust the Samples field (frames per second) at the top-left of the window. Lower frame rates (roughly 8-12 fps) are typical for retro-style walk cycles; higher rates (24 fps+) if you want smoother motion.
Common Problems and Fixes
Sprites look blurry or have halos around edges. Filter Mode is set to Bilinear when it should be Point, or Compression isn't set to None.
Frames are offset or cut wrong after slicing. Your Pixels Per Unit or cell size doesn't match the actual sheet grid — re-check the source file's dimensions in an image editor (divide total width by number of columns to confirm true frame width).
Animation plays but character doesn't move. You've animated the sprite in place, which is correct — actual movement should come from a script modifying transform.position or a Rigidbody2D's velocity, not from the animation clip itself. Animation and movement logic are separate systems; a common jam mistake is trying to make one system do both jobs.
Sheet has extra transparent space or watermarks after import. Re-download or re-export the source file — don't try to fix this inside Unity, fix it at the source image.
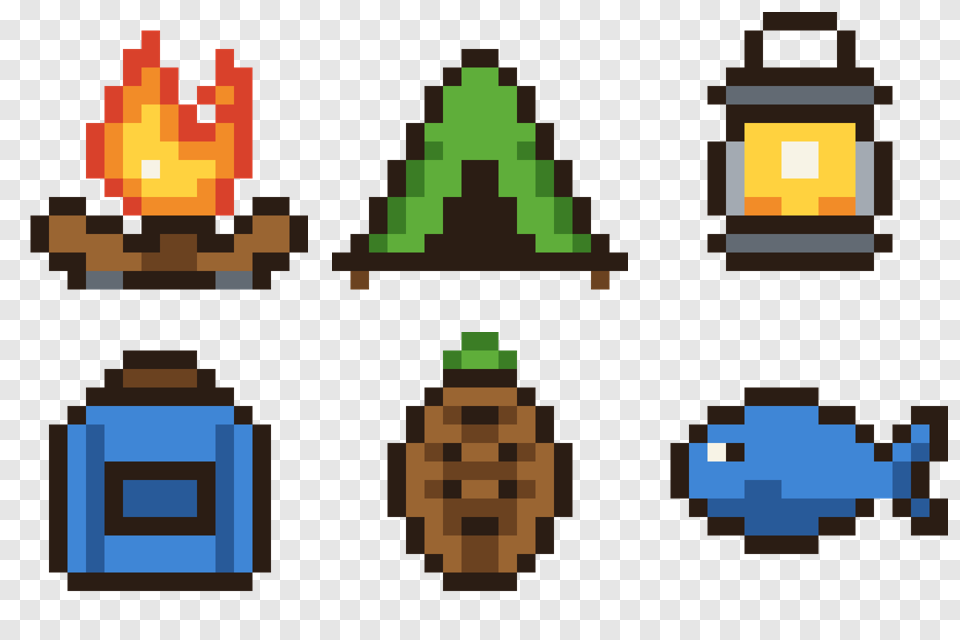
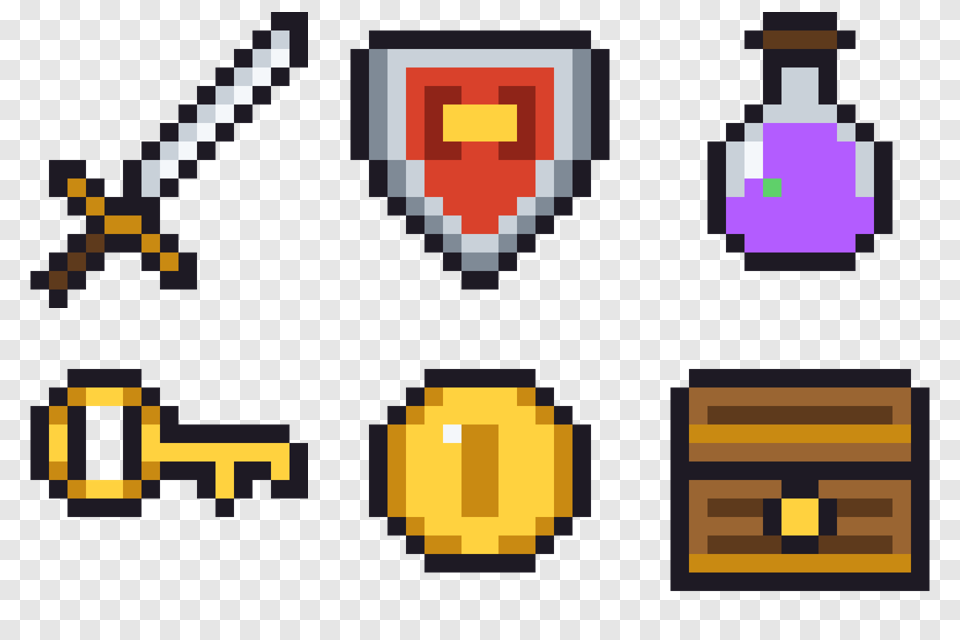
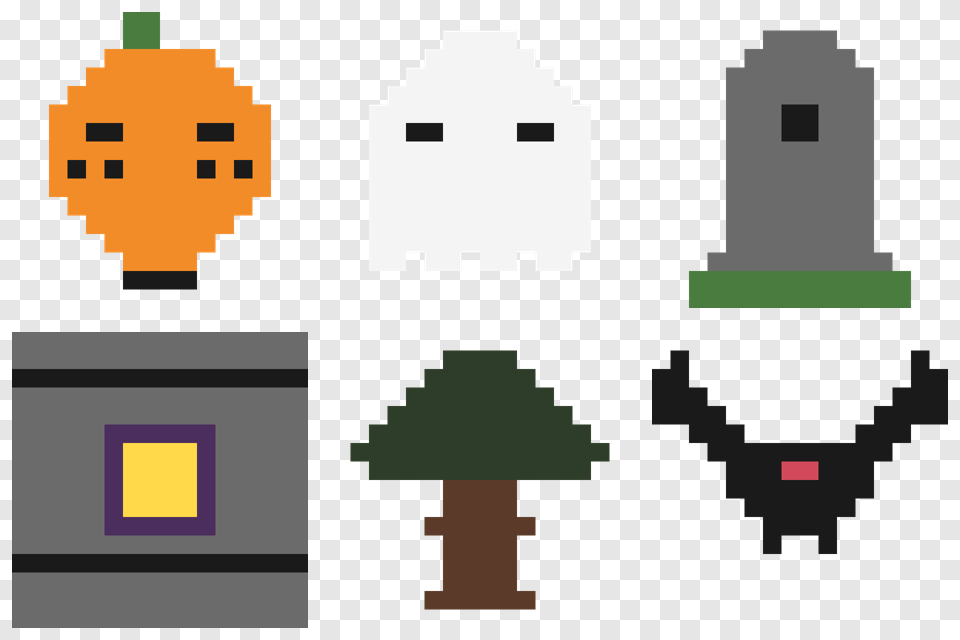
Sprites from different packs don't match in scale. This is a cohesion problem, not a technical one. If you're mixing assets from multiple sources (a common jam shortcut when time is short), make sure every sheet uses the same Pixels Per Unit setting and roughly the same pixel density per "game unit" — a 16px character next to a 64px tree will look wrong even if both individually look fine. This is exactly why themed, single-source sprite packs (one artist, one resolution, one style) can save time in a jam: you're not spending hours re-scaling and re-aligning mismatched art from five different downloads. If you're building a 16x16 pixel-art project, packs like the Cozy Camp 16x16 Pixel Art Pack, Dungeon Loot 16x16 Pixel Art Pack, or Spooky Hollow 16x16 Pixel Art Pack are already sliced to a consistent grid, so import settings stay uniform across your whole project.
A Quick Pre-Jam Checklist
If you know you're importing sprite sheets under time pressure, do this setup once before the clock starts:
- Decide your Pixels Per Unit standard for the whole project and write it down somewhere the team can see
- Confirm whether your art is pixel-art (Point filter, no compression) or higher-res (Bilinear, compression allowed)
- Test-import one sample sheet from your actual asset pack before the jam begins, so you're not debugging slice settings with an hour left on the clock
Wrapping Up
Importing a sprite sheet into Unity is usually a quick job once you've done it before — the friction almost always comes from mismatched import settings (wrong Sprite Mode, wrong filter, wrong Pixels Per Unit) rather than anything conceptually hard. Get those settings right once, save them as your project's default, and every subsequent sheet you drop in — whether it's a walk cycle you drew yourself or a themed pack you bought for the jam — will slot in cleanly instead of eating into your build time.